
Photo by Sebastian Svenson on Unsplash
From installing Minecraft mods to creating 3D models in Blender, I kept running into the word “shader.” Back then, I had no idea what it actually meant. I just vaguely guessed it had something to do with an object’s colors and textures.
In Blender, for example, there’s a whole section called the Shader Editor, where you drag and drop nodes to control how your 3D scene looks.
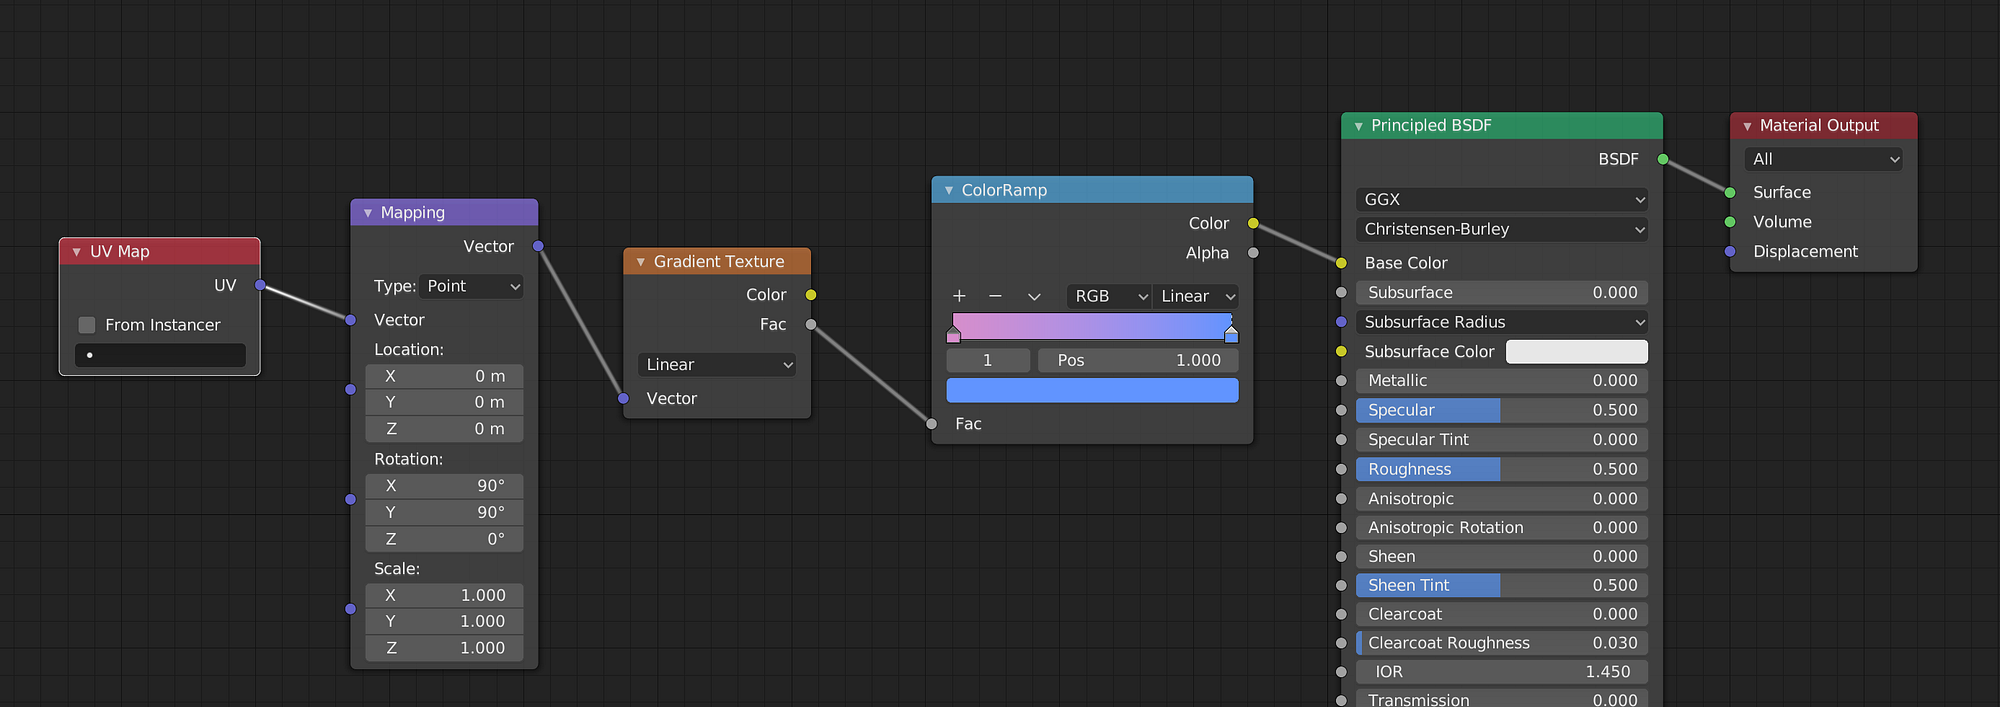
Shader editor in Blender
Recently, though, I decided I wanted to learn game development properly. In the past, I’d always end up just learning a game engine without understanding what was happening under the hood. This time, I chose the hard path: learning OpenGL and building a game from scratch in C++.
It’s been three months since I started, and I can now confidently say I know my way around OpenGL — especially shaders.
So… What actually is a shader?
If you Google it, you’ll probably get a boring answer like: “Shaders are specialized programs that run on the GPU.”
Okay, sure… but what’s a GPU, and why would anyone want to run code on it instead of the CPU?
Let’s break it down.
The CPU Problem
Imagine you want to draw something on a window, let’s say a checkerboard pattern like this:
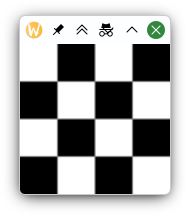
The window is 64×64 pixels (a 4×4 grid where each square is 16 pixels wide), so we’re dealing with 4,096 pixels total.
If you were to draw this using the CPU the traditional way, you’d need a nested loop — basically an O(n²) algorithm. Here’s a simple Python script that generates it as a PPM image (a super basic text-based image format):
width, size = 64, 16
with open("checkerboard.ppm", "w") as f:
    f.write(f"P3\n{width} {width}\n255\n")
    for y in range(width):
        for x in range(width):
            color = "255 255 255 " if (x // size + y // size) % 2 == 0 else "0 0 0 "
            f.write(color)
        f.write("\n")
So the above code gives an output like:
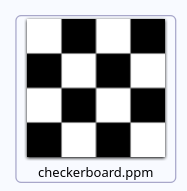
PPM image
Opening it in our text editor shows the image structure:
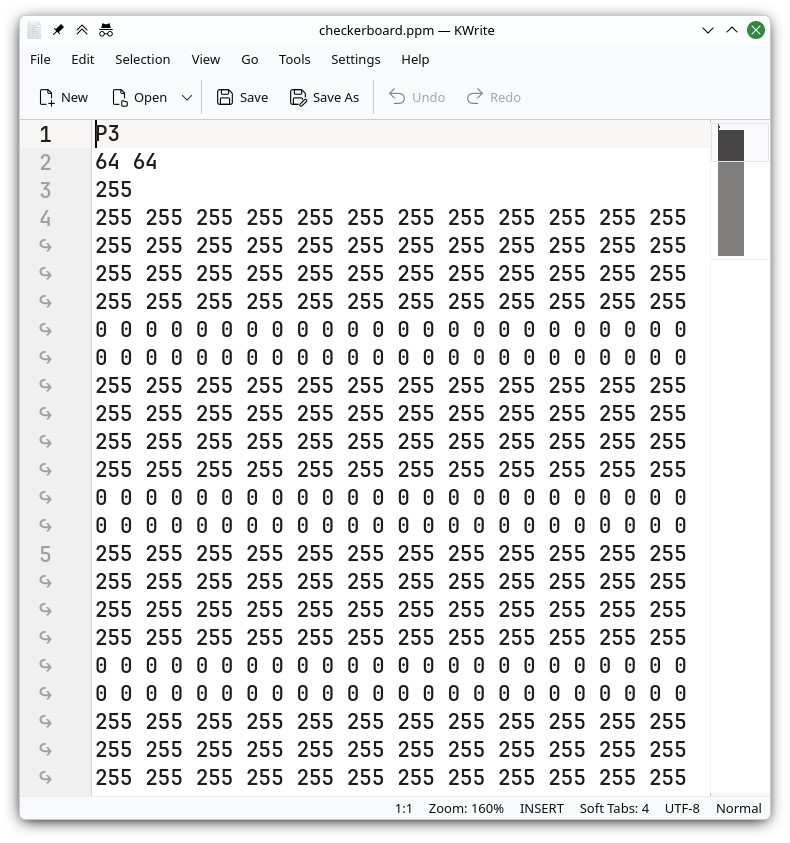
As you can see, even this tiny image produces a huge block of text. Now imagine doing this for a 4K screen with roughly 8 million pixels. That’s 8 million calculations… every single frame.
Your CPU would cry.
GPU to the Rescue
CPUs are great for general-purpose tasks, but GPUs are absolute beasts at graphics because they’re designed for massive parallelism.
Instead of calculating each pixel one by one, a GPU can run thousands of tiny programs at the same time — one for each pixel.
And that’s exactly where shaders come in.
Here’s the same checkerboard, but written as a shader:
void mainImage(out vec4 fragColor, in vec2 fragCoord) {
    ivec2 grid = ivec2(fragCoord) / 16;

    // Check if the sum of grid coordinates is even or odd
    float color = float((grid.x + grid.y) % 2);

    // Output color (1.0 = white, 0.0 = black)
    fragColor = vec4(vec3(color), 1.0);
}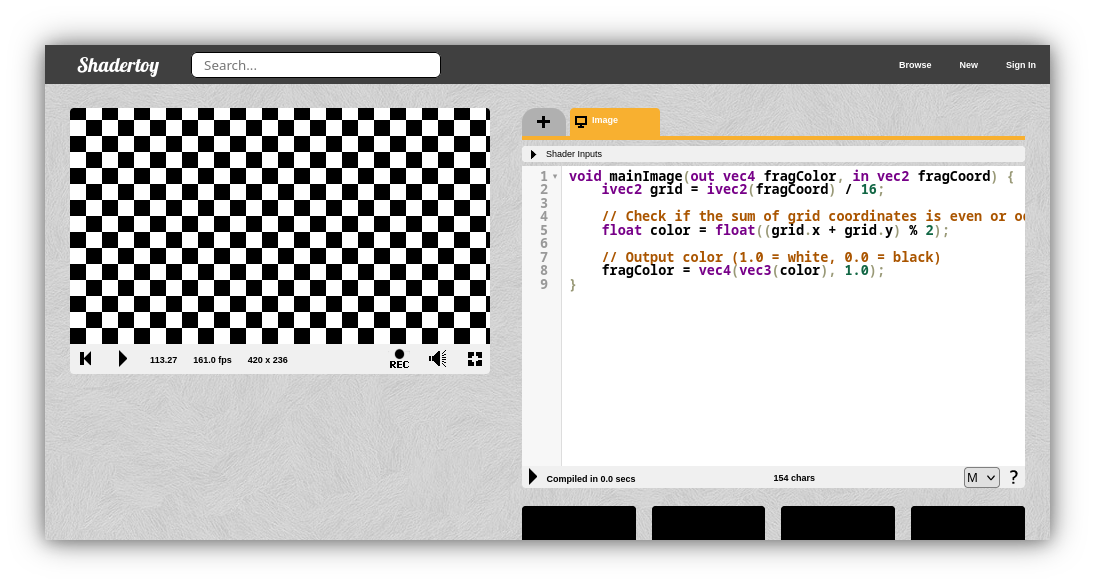
Shadertoy Screenshot
Even though this does the exact same thing as the Python code, it works completely differently. We don’t tell the shader the image size. We just tell it: “Given any pixel coordinate, figure out what color it should be.”
And because the GPU runs this for every pixel in parallel… it renders at a silky-smooth 165 FPS (yes, that’s just my monitor’s refresh rate).
But wait — there’s more
I might have distracted you by showing some shader code without giving you the full picture, so let’s learn more about these shaders.
The shader I just showed you is called a Fragment Shader. As the name suggests, it’s responsible for calculating the color of each fragment (pixel).
If we look at a typical OpenGL shader pipeline, we can see many shaders
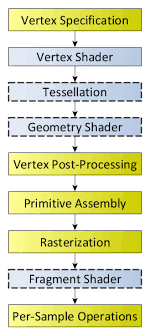
but for most beginner projects, you only really care about two:
- Vertex Shaders
- Fragment Shaders
Vertex Shaders: The Geometry Guys
Vertex shaders deal with… well, vertices. (Yes, those things you learned about in school. No, I’m not judging.)
Let me pull out good old Blender:
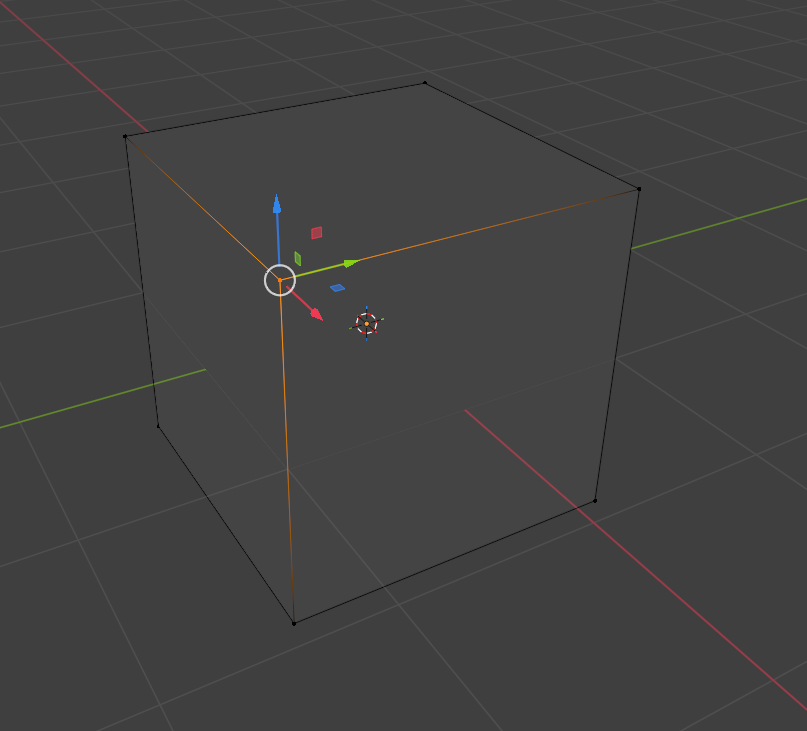
In Blender, a simple cube has 8 vertices. In OpenGL, however, the only shape the GPU truly loves is a triangle. So to draw anything, we have to break it down into triangles.
A square becomes two triangles (6 vertices). A cube becomes 12 triangles (36 vertices).
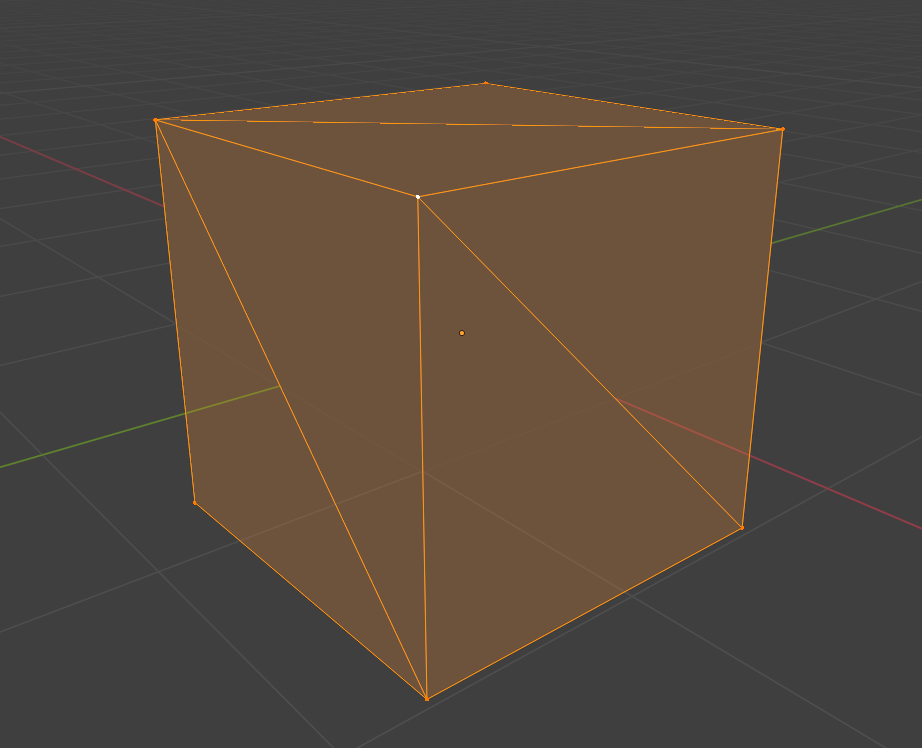
Note: Since some of these vertices are overlapping, we can actually save GPU memory by reusing the same vertex coordinates
Here’s how we define a cube using vertices and indices:
// Vertex Coordinates
float vertices[] = {
    -0.5f, -0.5f,  0.5f, // 0: Front-bottom-left
     0.5f, -0.5f,  0.5f, // 1: Front-bottom-right
     0.5f,  0.5f,  0.5f, // 2: Front-top-right
    -0.5f,  0.5f,  0.5f, // 3: Front-top-left
    -0.5f, -0.5f, -0.5f, // 4: Back-bottom-left
     0.5f, -0.5f, -0.5f, // 5: Back-bottom-right
     0.5f,  0.5f, -0.5f, // 6: Back-top-right
    -0.5f,  0.5f, -0.5f  // 7: Back-top-left
};
// Actual triangles, (represented using indices from the vertex buffer)
unsigned int indices[] = {
    0, 1, 2,     2, 3, 0, // Front
    1, 5, 6,     6, 2, 1, // Right
    7, 6, 5,     5, 4, 7, // Back
    4, 0, 3,     3, 7, 4, // Left
    4, 5, 1,     1, 0, 4, // Bottom
    3, 2, 6,     6, 7, 3  // Top
};
Now it’s time to send our cube to the GPU. GPU will store these vertex data and indices in it’s memory for use later
unsigned int vbo, ibo;
glGenBuffers(1, &vbo);
glGenBuffers(1, &ibo);

// Upload Vertices
glBindBuffer(GL_ARRAY_BUFFER, vbo);
glBufferData(GL_ARRAY_BUFFER, sizeof(vertices), vertices, GL_STATIC_DRAW);

// Upload Indices
glBindBuffer(GL_ELEMENT_ARRAY_BUFFER, ibo);
glBufferData(GL_ELEMENT_ARRAY_BUFFER, sizeof(indices), indices, GL_STATIC_DRAW);
Drawing the Cube
Enough talking about vertices, let’s get into shaders again.
Our cube is currently a 1×1×1 unit size, centered at (0,0,0). If we draw it as-is, it looks like a sad flat rectangle on screen (even with a nice orange fragment shader).
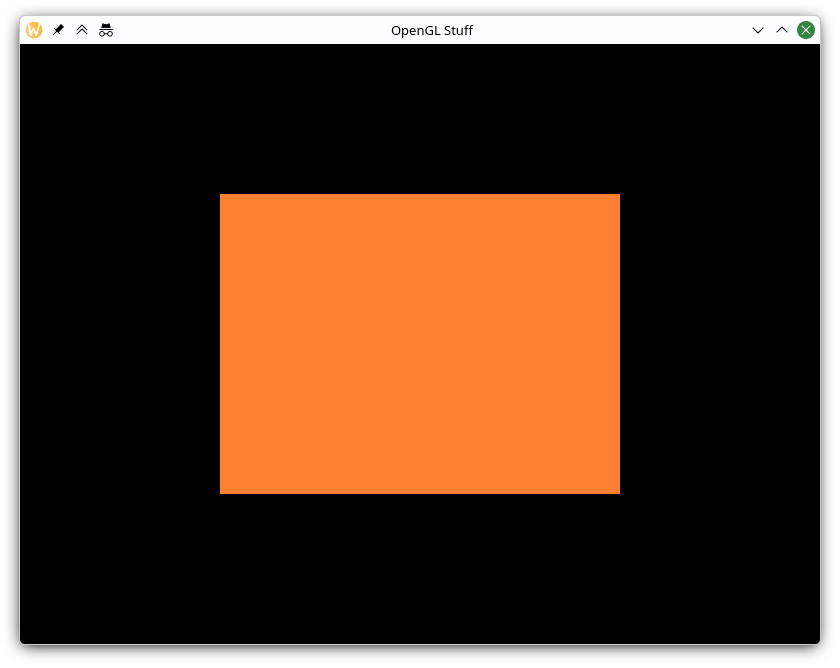
Why? Because OpenGL’s default coordinate system goes from -1 to +1 on each axis.
This is where the Vertex Shader comes in. It lets us transform our vertices using matrices.
For a proper 3D scene, we usually combine three transformations:
- Model — Moves and rotates the object in the world
- View — Moves the camera
- Projection — Handles perspective (how things get smaller with distance)
Let’s try rotating the cube a little bit. For this we need to define our model matrix. (A 4x4 matrix)
glm::mat4 model = glm::mat4(1.0f);
model = glm::rotate(model, glm::radians(60.0f), glm::vec3(0.0f, 0.0f, 1.0f));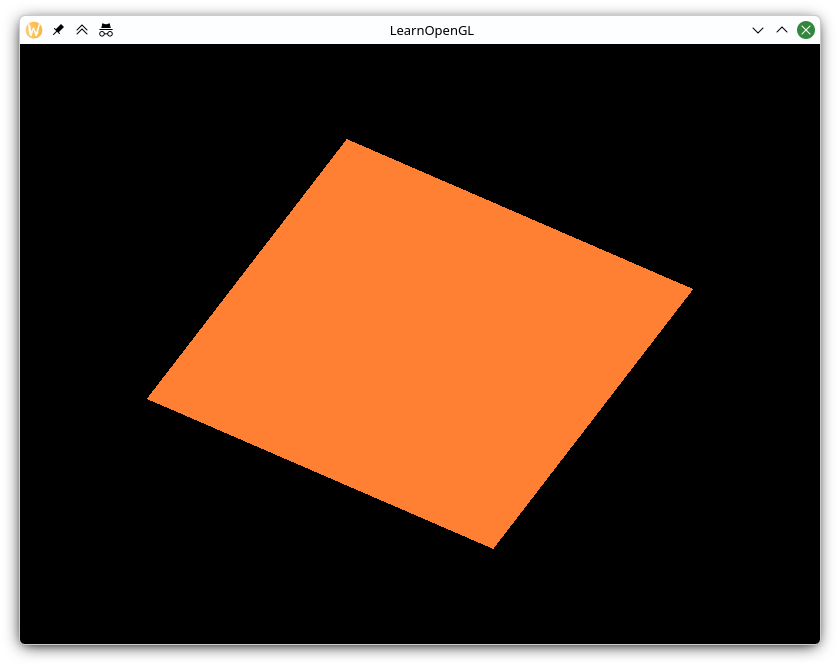
Similarly we define our view to be 3 units away from the world center, and projection to be perspective with 45deg field of view
glm::mat4 view = glm::mat4(1.0f);
view = glm::translate(view, glm::vec3(0.0f, 0.0f, -3.0f));

glm::mat4 projection;
projection = glm::perspective(glm::radians(45.0f), 800.0f / 600.0f, 0.1f, 100.0f);
Then we can pass our 3 matrices to the shader, we use uniforms to pass such data
int modelLoc = glGetUniformLocation(ourShader.ID, "model");
glUniformMatrix4fv(modelLoc, 1, GL_FALSE, glm::value_ptr(model));

int viewLoc = glGetUniformLocation(ourShader.ID, "view");
glUniformMatrix4fv(viewLoc, 1, GL_FALSE, glm::value_ptr(view));

int projectionLoc = glGetUniformLocation(ourShader.ID, "projection");
glUniformMatrix4fv(projectionLoc, 1, GL_FALSE, glm::value_ptr(projection));
So now is the moment everyone was waiting for:
our final Vertex Shader:
#version 330 core
layout (location = 0) in vec3 aPos;

uniform mat4 model;
uniform mat4 view;
uniform mat4 projection;

void main()
{
    gl_Position = projection * view * model * vec4(aPos, 1.0f);
}
Here’s our final output (Usually you will only see the plain colored silhouette of a rotated cube, but I have added some gradients to see the real 3d effect):
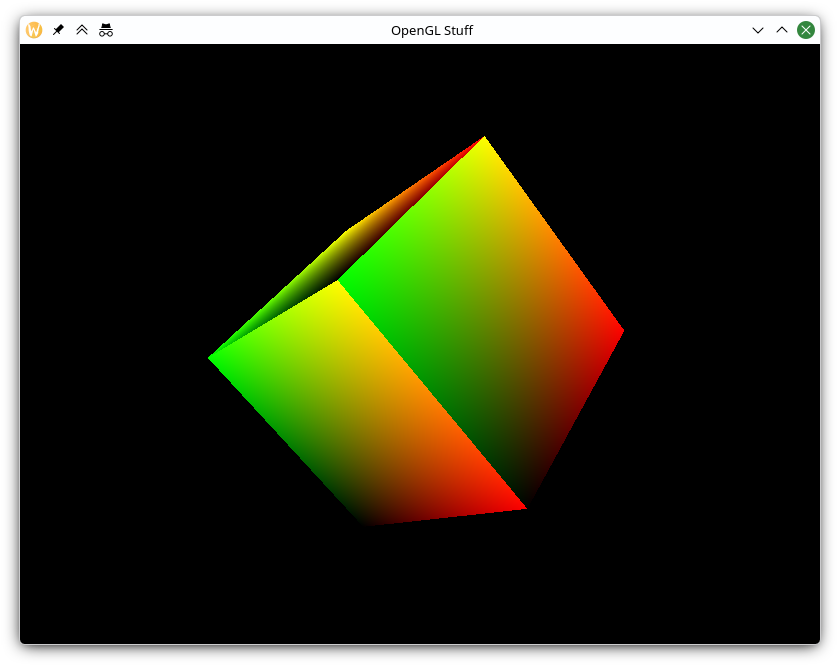
Pretty cool, right?
Even though this article ended up being quite long, I’ve only scratched the surface. Shaders can do so much more — texturing, lighting, normal mapping, post-processing effects, and wild procedural visuals.
I hope you learned something new (and maybe even got a little excited about shaders)!
Let me know what you think in the comments. And if you’d like a follow-up article diving deeper into lighting, normal maps, or other shader tricks, just say the word.